Contents
Have you been looking for different ways to crochet eyes? Then you’re in the right place!
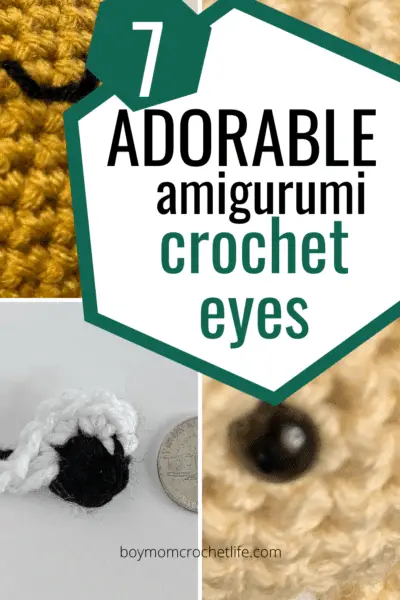
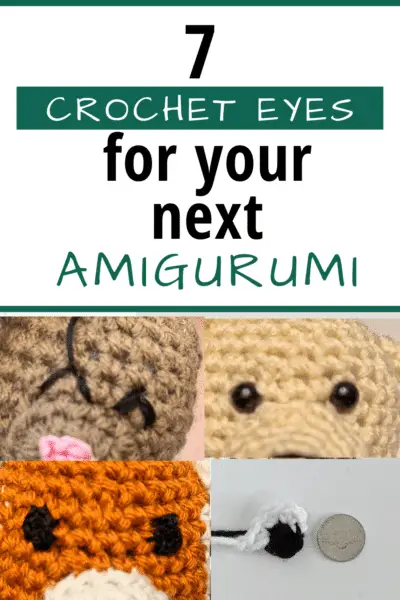
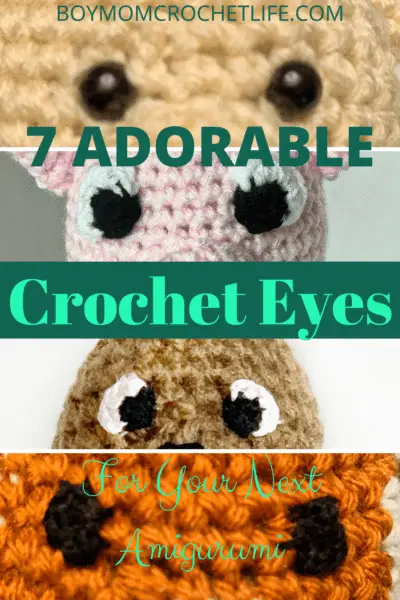
Hi Everyone! Today I want to share some cool and different ways of adding eyes to your crochet amigurumi pieces. These 7 crochet eye solutions will help you finish off your little (or big!) amigurumi in style!
If you have found yourself with some extra time lately, you may be filling it with hobbies, such as crocheting (go you!).
If you need a pattern to work on, try my Sleepy Time Truck or Cuddle Rocket– no eyes needed!
And since amigurumi- or crochet stuffed toys, if you aren’t familiar with the term- are quite popular, if you can’t find safety eyes, you may be looking for some alternatives.
Well I’ve put together a handy little list of 7 different options for eyes- some are even crocheted themselves!- that you can add to ANY amigurumi project!
I have used these eyes in different patterns and when I come up with new ideas for crocheted eyes, I will add them here to keep this up to date and full of fun options for you!
Some of the links in this article are “affiliate links”, a link with a special tracking code. This means if you click on an affiliate Some of the links in this article are “affiliate links”, a link with a special tracking code. This means if you click on an affiliate link and purchase the item, I will receive an affiliate commission- as an Amazon Associate, I earn from qualifying purchases. The price of the item is the same whether it is an affiliate link or not. Regardless, I only recommend products or services I believe will add value to you. I hope these links are as helpful as possible for you!
Safety Eyes
This is kind of the standard eye in crochet amigurumi. These look great and don’t require much work, but do require some forethought to ensure that you have them on hand when you get to that point in your work.
Safety eyes are inserted into the stitch and secured on the back of the piece with a small plastic locking washer. So if you are going to use safety eyes, you must add it to the amigurumi before you have stuffed and closed it up or you will not be able to secure it.
They come in different sizes, ranging from small (4mm) to quite large (30 mm+), although you will likely use more of the smaller ones. They often come in large kits that give you a small variety of sizes to try out and some even come with noses.
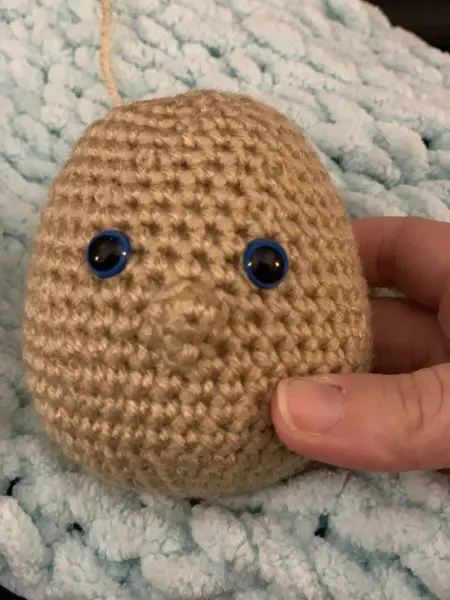
Most safety eyes you will find are black, but some safety eyes have a ring of color on them, like this blue eye I used on my Cuddly Santa Claus pattern.
However, if you’re making something for a small child, this is not a good option for you.Safety eyes are not recommended for children under 3, as they are a choking hazard.
So what to do if you can’t find safety eyes, you’re making something for a small child or you already stuffed and closed your amigurumi? Don’t sweat! I’ve broken up some options for you between ones that use yarn you may already have on hand and ones that use embroidery thread, which you may not.
Eyes Made with Yarn
Eyes made with yarn can be made a few ways. You can stitch on closed eyes; you can embroider larger pupils, but using yarn; or you can make a separate crocheted eye to attach to your amigurumi.
Yarn Closed Eyes
To stitch on closed eyes, figure out the shape of the eye you want to have. If you need to, you can always use an air-dissolvable sewing pen/pencil (or a children’s washable marker if you don’t have one) and mark the line you wish to follow.
Then you will thread a piece of yarn onto your tapestry needle and stitch it along the line. I like to go around each stitch and come back out so that the yarn completely encircles the stitch, as I feel that it holds better this way and I don’t have to put a knot in the end when I do this.
To start, I stick the needle under the first stitch, then pull the tail almost all the way inside the amigurumi. Then I come back and insert the needle exactly as I did before being careful to cross over the first part of the strand and not pull it through. This helps to secure that end.
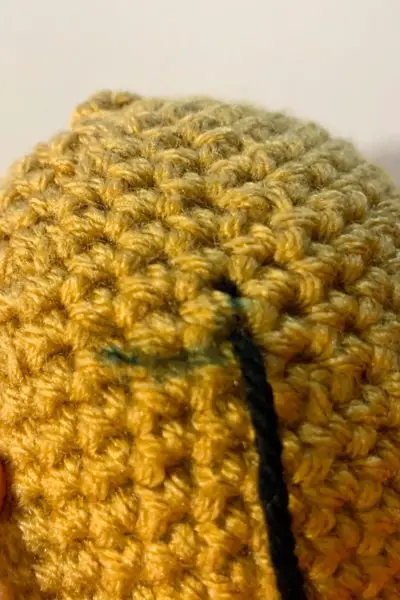
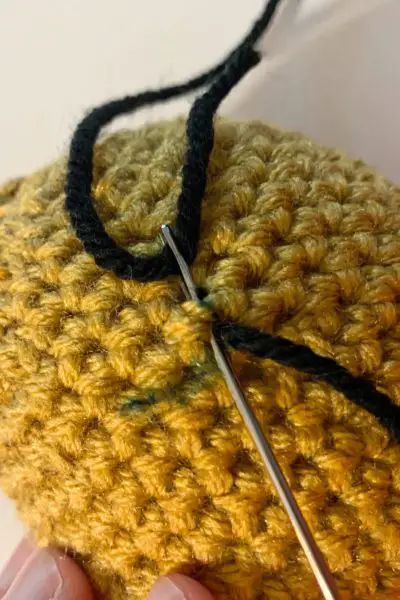
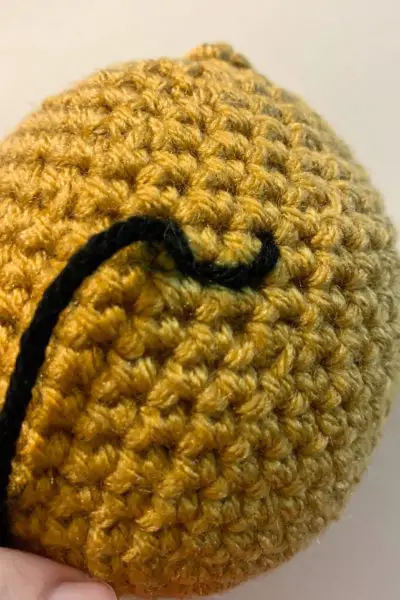
I continue inserting the needle under the next stitch then coming back over the top for the rest of the way around the marked line, cutting the thread close to the project at the end of the last stitch.
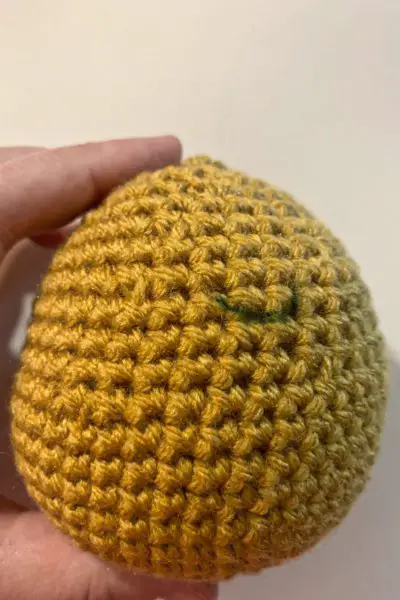
Yarn Open Pupils

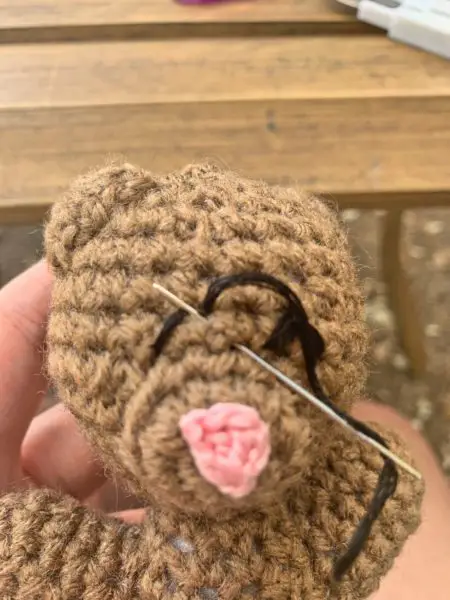
If you just need the black pupil, you can use your yarn to embroider a solid circle. Similar to how you start with the closed eyes, you can draw the circle size you want onto your amigurumi.
It will look best if you start from one side and stitch evenly to the other side, leaving as small of a gap as possible. The bulk of the yarn will help to fill some gaps, but if your stitches are too far apart, you will be able to see through the eye.
And as with the closed eye, to start, I would stick the needle under the first stitch, then pull the tail almost all the way inside the amigurumi. Then I would come back and insert the needle exactly as I did before but angle it over to start the next stitch. I’d kind of try to catch the first tail part under this stitch to pull it tighter, as this eye will be more prone to falling out.
I would stitch these eyes vertically, but you can use any angle you want.
And as I said, these eyes can be more prone to getting pulled out/falling out. You can put a knot in at the start, but it will show. You could also try using some sort of fabric glue to see if that will help to keep it from pulling out- don’t use much though!
(And let me know if you try the fabric glue- I haven’t tried it yet, but it sounds like it could work!)
Also, full disclosure- I have not tried this eye in this way yet. When I embroidered my eye on Daisy the Dino, I didn’t follow any sort of rhyme or reason, I was just trying to get an eye on that didn’t have huge gaps in it. But I believe this would be the best way to decrease the amount of gaps you would have and end with a smooth eye appearance- I should really follow my own advice!
Crocheted Eyes
So far, I have done two different versions of a crocheted eye.
Version 1

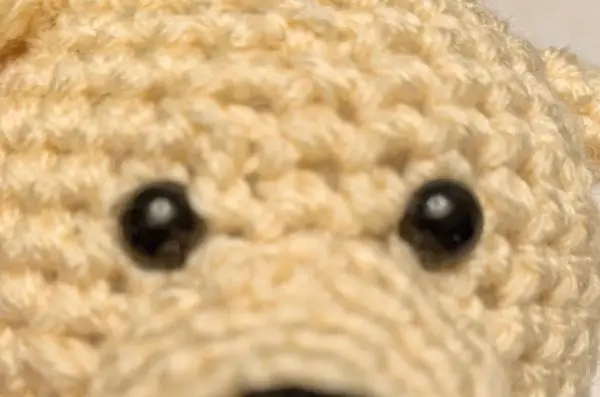
One version is just the pupil with some white woven in to give it some depth. It was made specifically for this baby Yoda I freehanded (sorry, I don’t have a pattern, but searching Pinterest or Ravelry will give you a ton of hits if you are interested in one).
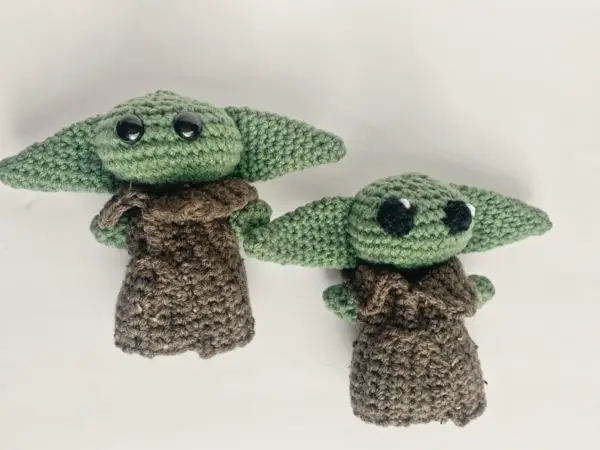
This eye measures .75” by .75” (1.9 cm by 1.9 cm) when worked with worsted weight yarn and a 4.5 mm hook.
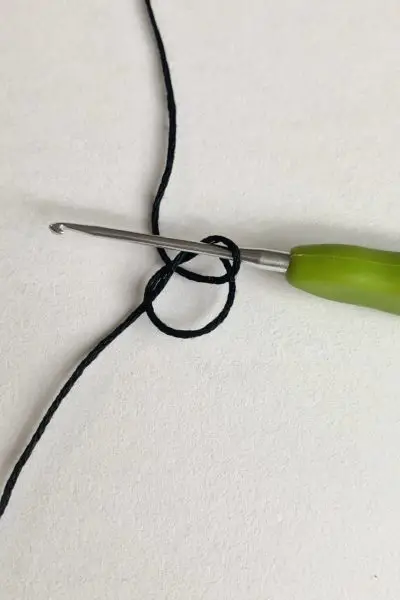
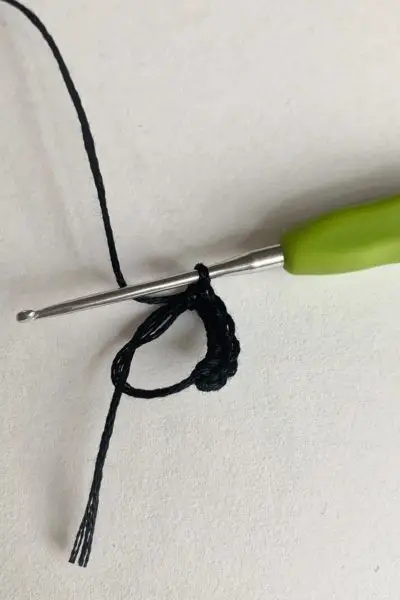
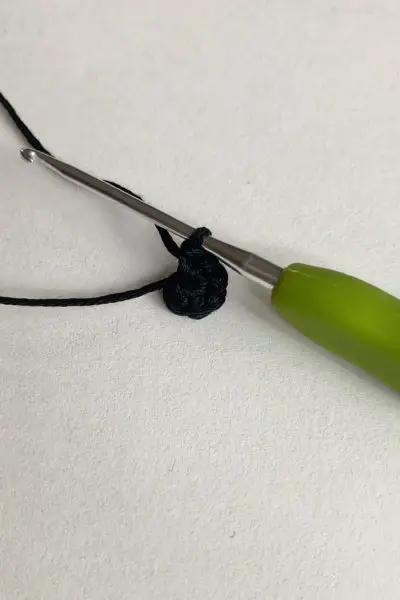
To make this eye, I started with a magic ring, chained 1 and worked 6 single crochets into the magic ring. Then I slip stitched into the first single crochet, cut about a 6 inch tail and fastened off.
I then took a piece of white yarn and wove it around one stitch and tied it in the back, as I had no place to weave it in invisibly.
I didn’t want to add too much bulk, so I actually tied a knot into the starting side after pulling my magic ring tight. Then, I cut the yarn to leave about an inch left above the knot to keep it from coming undone and stuffed that behind the eye as I sewed it on.
This had the added benefit of giving some more dimension to the eye so it didn’t look so flat once it was sewn on. Once I finished sewing it on, I wove the tail into the eye and cut the excess off.
Version 2
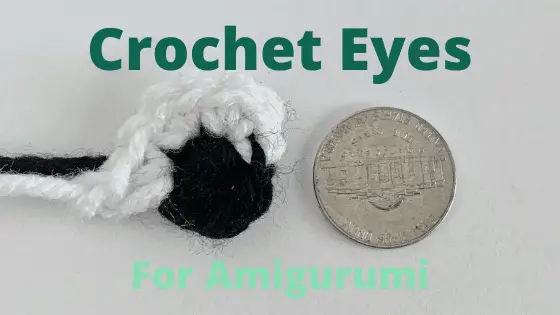
The second version of a crochet eye includes some of the white part of the eye (or sclera, if you’re fancy).
This eye measures 1” by 1” (2.5 cm by 2.5 cm) when worked with worsted weight yarn and a 4.5 mm hook.
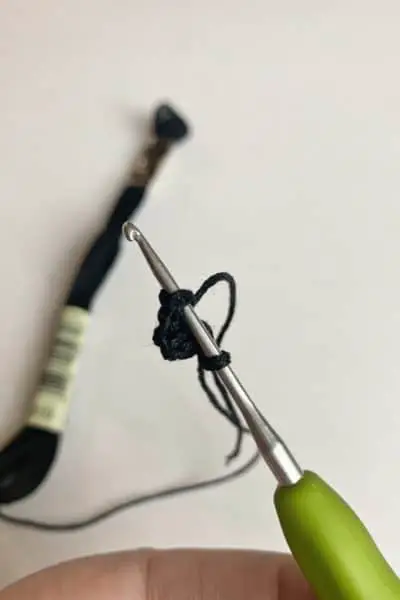
To make this eye, I started with black and made a magic ring, chained 1, and single crocheted 6. I inserted my hook into the top of the first single crochet to slip stitch and switched to white to yarn over and pull through with. Then, using the white, I chained 1 and worked 2 single crochets into each of the first 3 black single crochets, for a total of 6 white single crochets worked into only 3 of the black single crochets.
As with the pupil only eye, I tied a knot into the starting tail and cut to about 1 inch. For the starting tail of the white portion, I crochet over it.
It is important to leave about a 6 inch tail for both the white and the black, because you will use the white tail to sew the white part on and the black tail to sew the black part on.
Embroidered Eyes
If your amigurumi is a bit smaller or you just want a more precise line without the halo effect you can get from yarn, them embroidery thread eyes will be what you’re looking for.
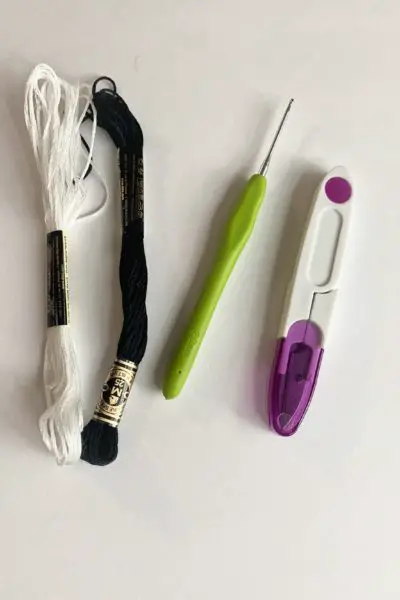
Note: For the embroidery thread eyes, you will want a smaller gauge tapestry needle, something like these tapestry needles from Yarnspirations will work great!
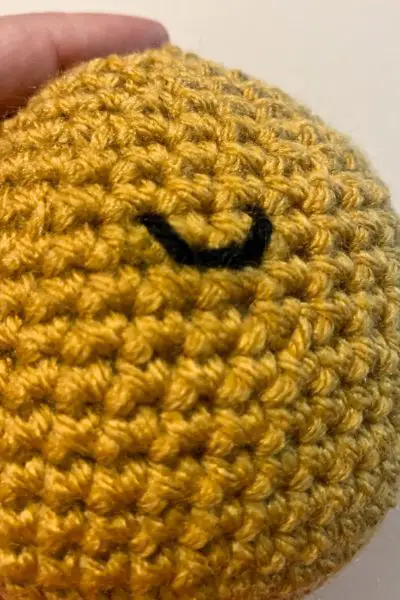
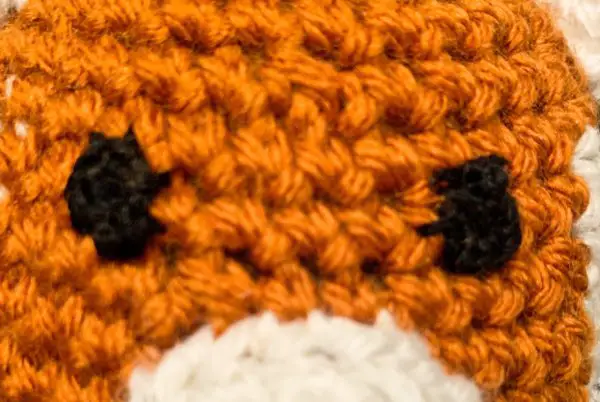
Embroidered Closed Eye
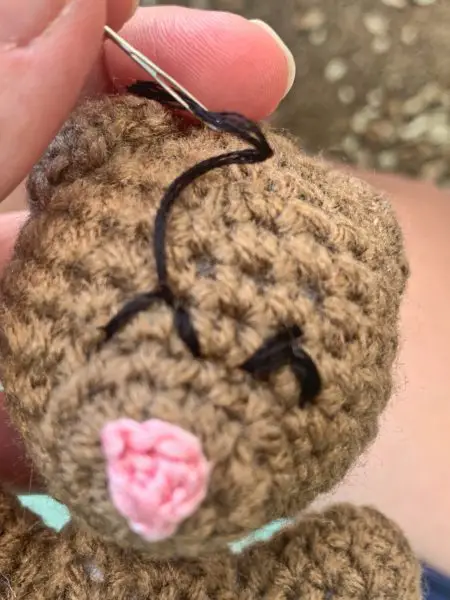
You will work this exactly as mentioned above for the yarn closed eye, but using embroidery thread.
I usually make mine an upward-pointing arrow that goes from the bottom of one stitch, across the stitch into the top of the space between it and the next stitch, then back down to the bottom of the space on the other side of the next stitch.
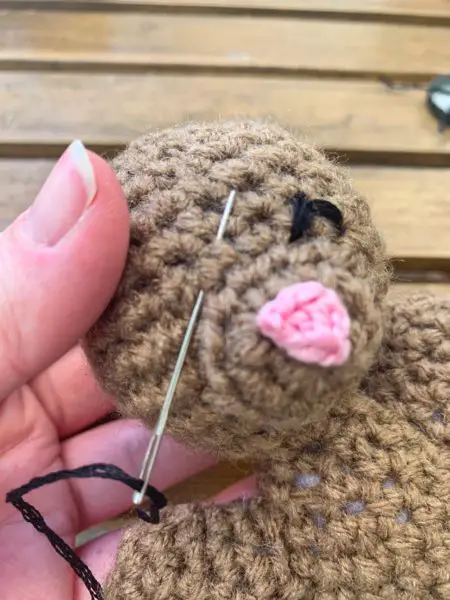

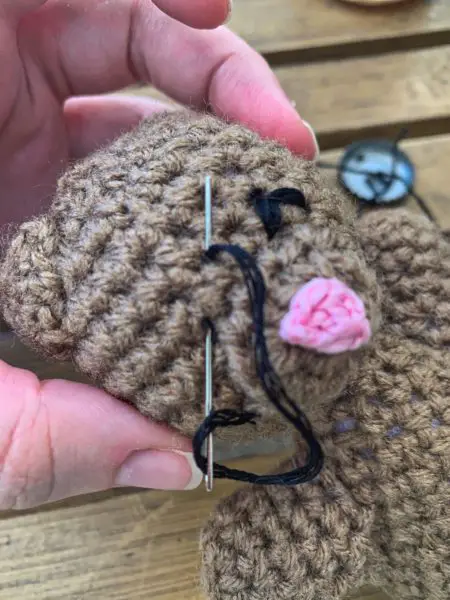
This works great on smaller pieces, but you will want to add stitches in as your amigurumi gets bigger, or if you want a more curved look.
Embroidery Thread Pupils
This is similar to the crocheted yarn pupils mentioned above.
This eye measures 3/8” by 3/8” (.95 cm by .95 cm) when finished.
I use a 2.0mm crochet hook and create a magic ring with the embroidery thread. I chain 1, then single crochet 6 into the magic ring and slip stitch into the first single crochet (see pictures in the next section- just do the portion in black for this eye).
I leave about a 6 inch tail on this eye as well. You will not need that much to sew the eye on, but you will need the slack in order to move your needle in and out while you do sew it on.
Then, I weave the tail into the eye as best I can and cut the remaining.
Embroidery Thread Crocheted Eyes
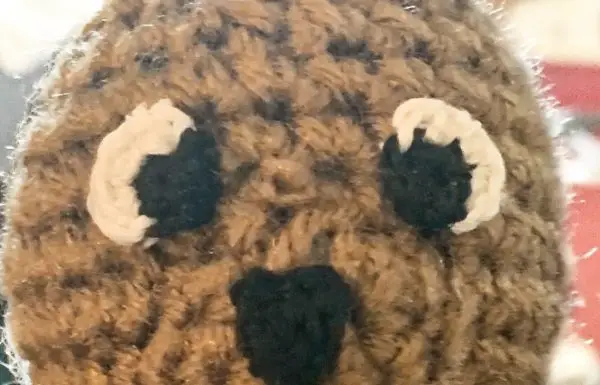
Interested in this little guy? Come back next week to find his pattern!
Again, this is similar to the yarn crocheted eye above, but I use a 2.0mm crochet hook for this eye as well.
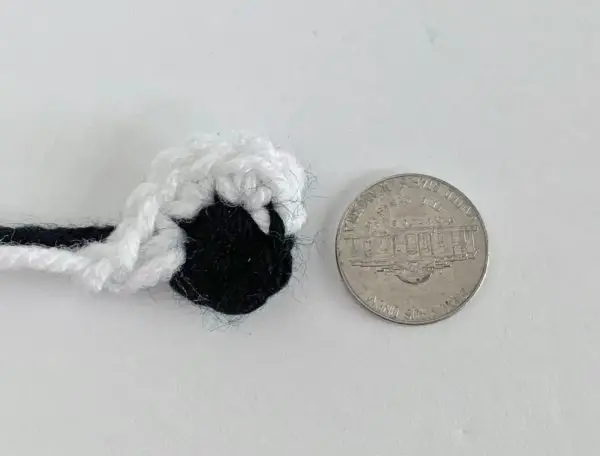
This completed eye measures .5” by .5” (1.2 cm by 1.2 cm)
You will need two colors of embroidery thread for this eye- white and black.
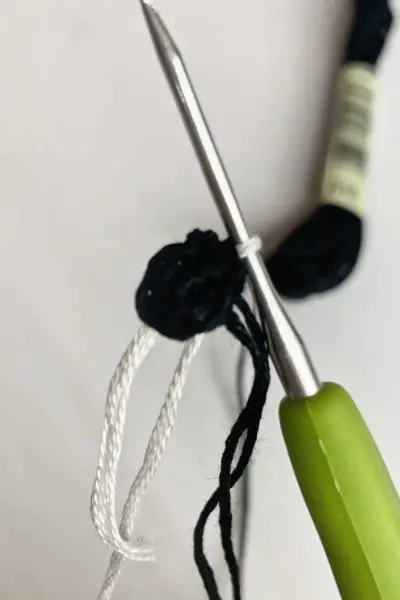
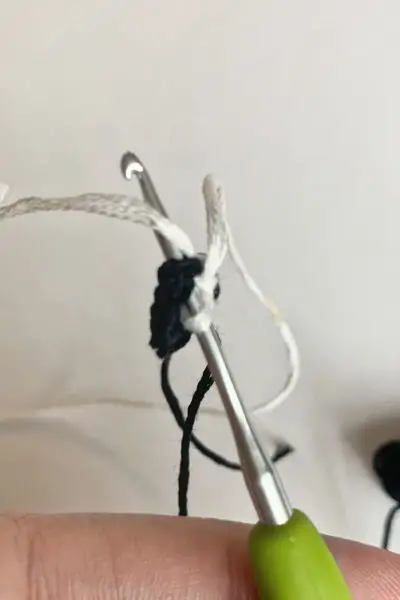
Create a magic ring with the black embroidery thread, chain 1, single crochet 6 into the magic ring and insert the hook into the first single crochet as if to slip stitch.
Yarn over with the white embroidery thread, pull through, chain 1, single crochet 2 into each of the first three black single crochets for a total of 6 white single crochets worked into 3 black single crochets.

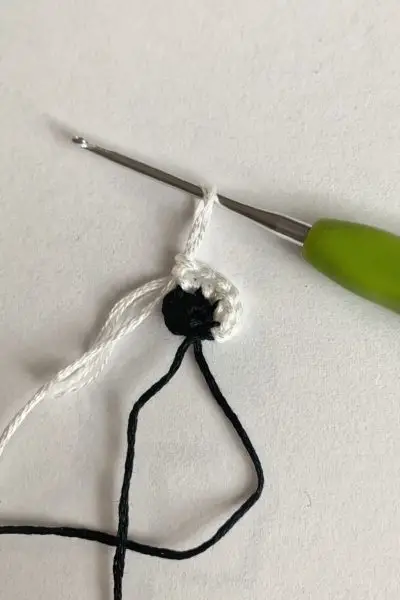
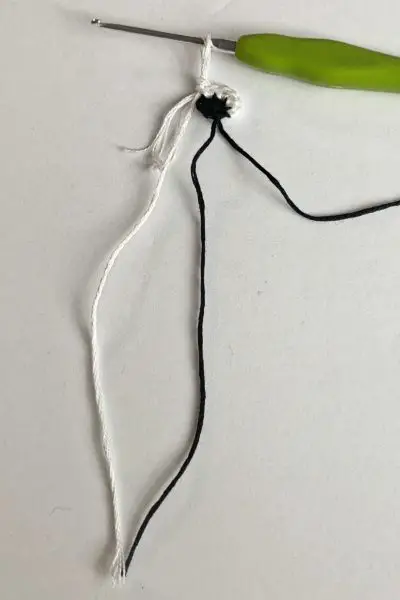
Leave 6 inch tails for both the white and black portions and use the white tail to sew on the white portion and the black tail to sew on the black portion.
Note that these steps are exactly the same for the yarn crocheted eye, you just use a different size yarn and hook.
Additional Tips
- When I sew on any of the crocheted eyes, I first run the needle through the next stitch and pull all the way through to round off the eye. Then I catch a stitch in the body and come up through the space I would work under in the last single crochet worked.

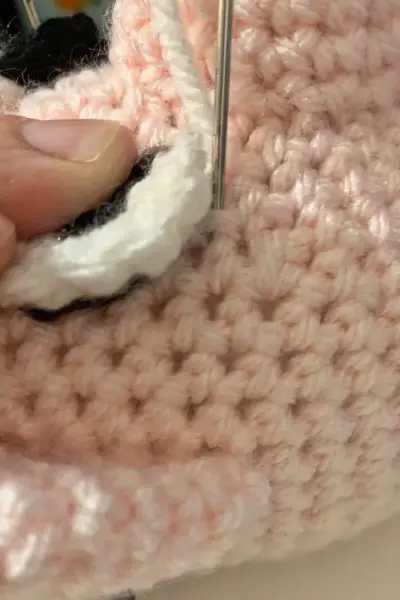
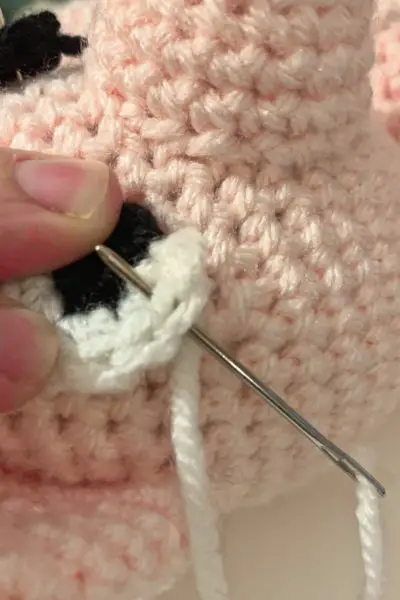
I go down into the space of the next single crochet over and pick up some of the amigurumi piece underneath where I am placing the eye.
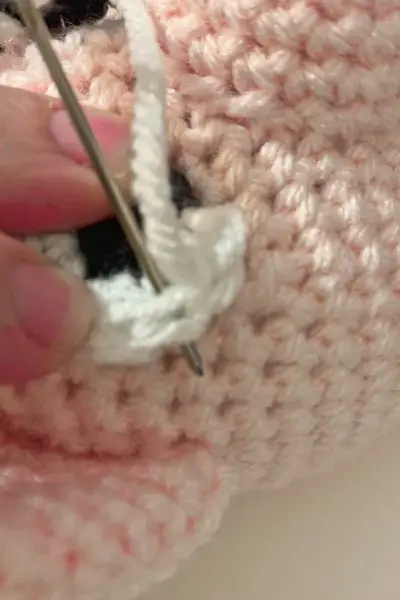
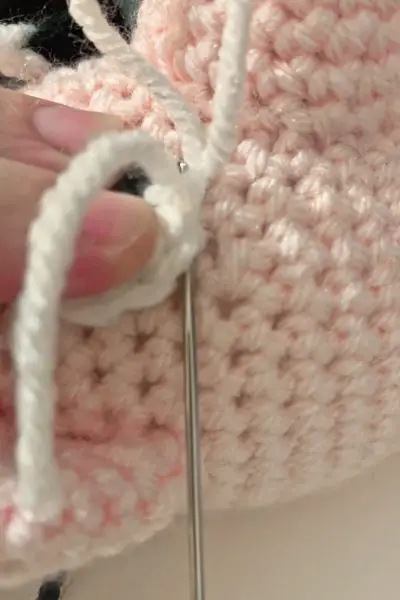
By sewing it in this method, I can hide the stitches that are holding the eye on, making it look more seamless.
- Smaller stitches for the closed eyes will give you a more rounded line, while longer stitches will give you a more angular line. Neither is right or wrong, but it’s good to know this to get the result you want.
- If you’re using a washable marker to mark your eye placement, you can easily remove any visible marks when you are finished with a damp paper towel. Be careful not to scrub too hard as it will pull up the fibers in the yarn. If you don’t like how this looks, you can always trim the fibers that come up, making sure to hold your scissors flat to the piece and being EXTRA careful to NOT cut any stitches!
- If you are skilled at embroidery, a conventionally embroidered eye would be lovely! Unfortunately, I am not skilled at embroidery so I cannot show you an example of this.
These are the seven eyes that I use most in my patterns. What other ways do you make eyes on your amigurumi? Comment below!
Want to find these crochet eyes for your amigurumi later? Pin it!