
Contents
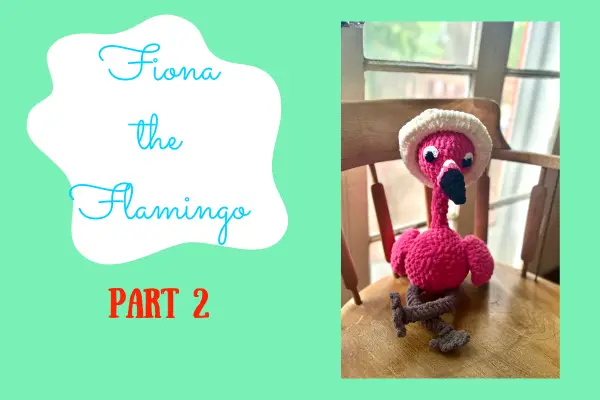
Part 2 of Fiona the Flamingo for the Too Cool for the Pool Crochet Along is here!
In this part, we will be joining the pieces we made in part 1 (so if you missed it, click that link so you can catch up!). Luckily this part will not require any sewing, but will require something somewhat stiff to keep the neck from laying over from the weight of the head- I used pipe cleaners.
If you would like to buy the full PDF pattern, why not get the pattern for all three animals with the Too Cool for the Pool CAL bundle here?
Just want Fiona? You can purchase the ad-free, full photo PDF on Ravelry here.
Supplies Needed for Part 2
Bernat Blanket Brights in Pixie Pink
6.5 mm crochet hook
Tapestry needle, scissors, stitch marker, fiber fill, pipe cleaners
Abbreviations/Notes
ch(s)- chain(s)
st(s)- stitch(es)
Sc- single crochet
Sl st- slip stitch
Inc- increase
Dec- decrease
Blo- back loop only
Worked in spiral rounds, so use a stitch marker to mark the first stitch.
I used pipe cleaners in the neck to give it some additional stability.
Instructions
Body
Using pink and 6.5 mm crochet hook
Create a double magic ring, ch 1 and sc 6 into the ring.
Round 2: inc in each st (12)
Round 3: sc in each st (12)
Round 4: sc in first st, inc in next, [sc in next st, inc in next], repeat [ ] 4 more times (18)
Round 5: sc in first 2 sts, inc in next, [sc in next 2 sts, inc in next], repeat [ ] 4 more times (24)
Round 6: sc in each st (24)
Round 7: sc in first 3 sts, inc in next, [sc in next 3 sts, inc in next], repeat [ ] 4 more times (30)
Round 8: sc in first 4 sts, inc in next, [sc in next 4 sts, inc in next], repeat [ ] 4 more times (36)
Rounds 9-10: sc in each st (36)
Round 11: sc in first 16 sts, attach leg by sc through the leg over the next 3 sts,sc in next 3 sts, attach second leg by sc through the leg over the next 3 sts, sc in last 11 sts (36)
Rounds 12-13: sc in each st (36)
Round 14: sc in first st, ch 3, skip next 3 sts, sc in next 4 sts, attach wing by sc through the top of the wing and into the body over the next 3 sts, sc in next 19 sts, attach wing by sc through the top of the wing and into the body over the next 3 sts, sc in last 3 sts (36)
Round 15: sc in first 4 sts, dec, [sc in next 4 sts, dec], repeat [ ] 4 more times (30)
Round 16: sc in first 3 sts, dec, [sc in next 3 sts, dec], repeat [ ] 4 more times (24)
Round 17: sc in first 2 sts, dec, [sc in next 2 sts, dec], repeat [ ] 4 more times (18) Stuff the body with fiber fill.
Round 18: sc in first st, dec, [sc in next st, dec], repeat [ ] 4 more times (12)
Round 19: dec evenly around (6)
Fasten off, leaving a 6-8 inch tail. Using tapestry needle, weave the end through the front loop of each stitch and pull tight. Weave in end. You can add any extra stuffing needed through the hole for the neck.
Neck
Attach pink yarn to the hole left in the body and ch 1, working in the front loop only for round 1
Round 1: sc in first 3 sts, dec the side of the hole with the next st so it will not leave a hole, sc in the next st, then dec the next st with the other side of the hole (6)
Rounds 2-9: sc in each st (6)
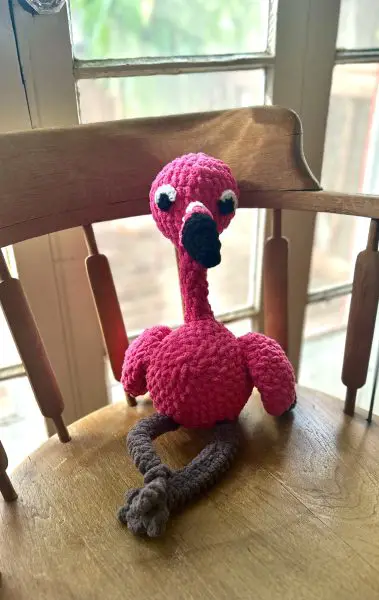
Firmly stuff the neck with fiber fill. Alternatively, you can use 4-5 pipe cleaners, twist them together and put them down through the neck to give it some more stability. Add fiber fill to fill in the remaining spaces.
Head (continuing on from the neck)
Round 10: inc in each st (12)
Round 11: sc in first st, inc in next, [sc in next st, inc in next], repeat [ ] 4 more times (18)
Round 12: sc in first 2 sts, inc in next, [sc in next 2 sts, inc in next], repeat [ ] 4 more times (24)
Round 13: sc in first 3 sts, inc in next, [sc in next 3 sts, inc in next], repeat [ ] 4 more times (30)
Rounds 14-17: sc in each st (30)
Round 18: sc in first 3 sts, dec, [sc in next 3 sts, dec], repeat [ ] 4 more times (24)
Round 19: sc in first 2 sts, dec, [sc in next 2 sts, dec], repeat [ ] 4 more times (18)
Round 20: sc in first st, dec, [sc in next st, dec], repeat [ ] 4 more times (12)
Round 21: dec evenly around (6)
Fasten off, leaving a 6-8 inch tail. Using tapestry needle, weave the end through the front loop of each stitch and pull tight. Weave in end.
Ready for part 3? Hit that link and finish up your Fiona!

Hi Darcy,
How are you?
Sorry for the delay. I’m still working on part 1 hoping to finish it soon. Will post once done.
Have a nice day!
Vennila
Hi Vennila,
No rush! I look forward to seeing your part 1 when it’s complete! Thanks for the comment and I hope you have a nice day, too!
Darcy
Aww thank you Darcy,
My daughters and I usually volunteer with VBS during the summer . It started today.
Vennila
Oh good luck this week! I hope it’s a beautiful week for everyone involved ❤️
So far it’s been lovely. My elder daughter does the science section. I help her. My youngest does the opening and closing – Theme is Hero Hotline
Oh that sounds fun! And it sounds nice to be able to work with your daughters for it, too