Contents
Like the look of skunks but don’t like the smell? Then this crochet skunk pattern is right up your alley!
Skunks often get a bad rap, probably because of the TERRIBLE smell they produce to warn off predators (but possibly also because they are one of the 4 wild animals considered to be primary carriers of rabies– so, you know, DON’T TRY TO PET A WILD ONE!)
But on the plus side, skunks in California will dig up and eat yellow-jackets (source)- and if you’ve ever dealt with those, you know that’s a good thing!
I’ve been lucky that I’ve never been sprayed, nor have my dogs, but I’m sure there have been some close calls- you can always smell when skunks are nearby!
But just because they’re stinky doesn’t mean they aren’t also cute. I mean, 17 U.S. states as well as the U.K. (and possibly Poland and a few other European countries) allow people to keep skunks as pets and there are tons of websites dedicated to skunks as pets.
If you are located somewhere that skunks are not legal, or just don’t want to deal with a live animal, then you can make your own adorable skunk!
You’ll get all the cute, and none of the smell (or work!)
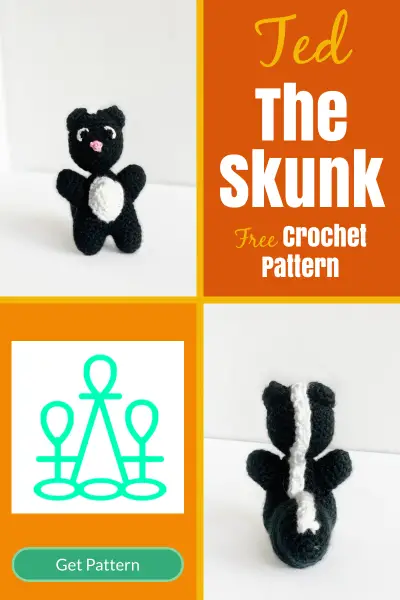
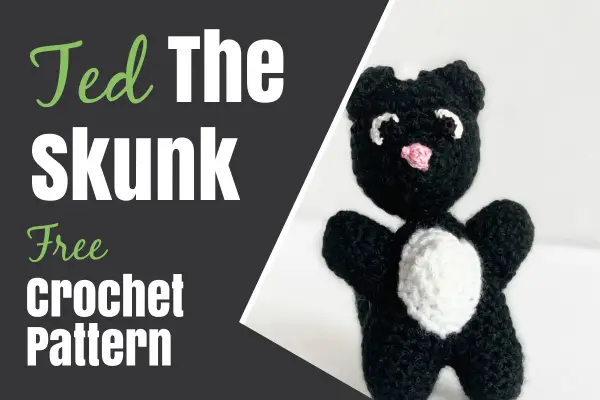
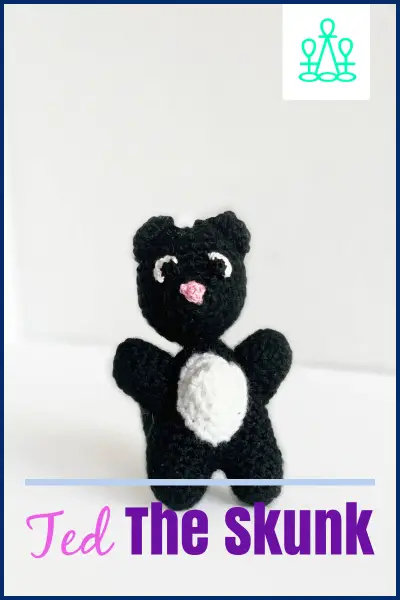
Ted the Skunk Crochet Pattern
Some of the links in this article are “affiliate links”, a link with a special tracking code. This means if you click on an affiliate link and purchase the item, I will receive an affiliate commission. The price of the item is the same whether it is an affiliate link or not. Regardless, I only recommend products or services I believe will add value to you. I hope these links are as helpful as possible for you!
Yarn and Hook
For this skunk, I used about 55 yards of I Love This Yarn in Black and about 7 yards of I Love This Yarn in White.
Whatever black and white yarns you happen to have on hand would work great as well, keeping in mind that a worsted weight yarn that’s a little thicker will result in a slightly larger finished measurement.
I also used less than a yard of pink embroidery floss (like this Coats and Clark embroidery floss) for the nose and less than a yard each of black and white embroidery floss for the crochet eyes.
I used two different crochet hooks: a 4.5 mm crochet hook for the main parts (legs/body/head, arms, ears, muzzle, tail) and a 2.0 mm crochet hook for the nose and eyes.
Other Notions
Some other things that you will need will be:
- Tapestry needle
- Stitch marker
- Scissors
- Fiber fill
- Eye solution of choice: safety eyes (6 mm or 8 mm) or embroidered or crocheted eye
I used crochet eyes from the linked post above on Ted, so he is totally safe for babies (and totally adorable!)
Measurements
When finished, Ted measures 5.25 inches tall, 3.25 inches wide and 4.75 inches back to front. Gauge is not super important for this amigurumi skunk, but my gauge measures 4 stitches and 4 rows in 1 inch.
Abbreviations
ch chain
dec decrease
inc increase
Rd round
rep repeat
sc single crochet
Additional pattern notes:
[] denote a group of stitches that repeats as many times as directed
Pattern Instructions
Ted is worked in the spiral round. First you will work his two legs, but DO NOT fasten off the second leg! You will join the first leg and continue to work the body without fastening off (which means less sewing!). The body will then go to the head, also without seaming. This is your first major piece.
Legs/Body/Head
Using your worsted weight yarn, you will start with a magic ring and chain 1, then single crochet 6.
Continue working in a spiral as follows, being sure to mark your first stitch of each new round with your stitch marker:
Rd 2: inc 6 (12)
Rds 3-6: sc 12 (12)
At this point, fasten off the first leg and weave in ends. Repeat Rds 1-6 for the second leg, but DO NOT fasten off the second leg.
Weave in starting end for both legs. The ending end of the first leg can either be woven in or crocheted over in the next round.
Continue as follows:
Rd 7: sc 6 on first leg, beginning in first stitch of the last round of the first leg, sc 12, sc 6 on second leg (24)
Rds 8-10: sc 24 (24)
Rd 11: [sc 2, dec], rep [] five more times (18)
Rds 12-13: sc 18 (18)
At this point, you will need to stuff your legs with fiber fill, being sure to stuff them firmly, but not over stuff to where the stitches are pulled too tightly and the fiber fill is spilling out.
Rd 14: [sc, dec], rep [] five more times (12)
Rd 15: sc 12 (12)
Now is the time to stuff the rest of the body with fiber fill
Rd 16: dec 6 (6)
Rd 17: sc 6 (6)
Rd 18: inc 6 (12)
Rd 19: [sc, inc], rep [] five more times (18)
Rd 20: [sc 2, inc], rep [] five more times (24)
Rd 21: [sc 3, inc], rep [] five more times (30)
Rds 22-23: sc 30 (30)
If you will be using safety eyes, add them in row 23 in stitches 15 and 18.
Rd 24: [sc 3, dec], rep [] five more times (24)
Rds 25-26: sc 24 (24)
Rd 27: [sc 2, dec], rep [] five more times (18)
Rd 28: [sc, dec], rep [] five more times (12)
Stuff the head with fiber fill, making sure to add some extra fiber fill and stuff it firmly into the neck space. I often use the end of my crochet hook, but a stuffing tool or the eraser end of a pencil would also work here.
Rd 29: dec 6 (6)
Fasten off and leave a 6 inch tail. Sew the tail through the front loop on all 6 scs and pull tight. Weave in the remaining end.
Arms
The next pieces to work are the arms. Be sure to make 2!
Still using your worsted weight yarn, you will start again with a magic ring and chain 1, then single crochet 6.
Continue working in a spiral as follows, being sure to mark your first stitch of each new round with your stitch marker:
Rd 2: inc 6 (12)
Rd 3: sc 12 (12)
Rd 4: [sc 2, dec], rep [] twice more (9)
Rds 5-6: sc 9 (9)
Fasten off and leave a 6 inch tail to sew onto the body. Stuff each arm firmly with fiber fill.
Muzzle
Still using your worsted weight yarn, you will start again with a magic ring and chain 1, then single crochet 5. Please note that this is different from how most other pieces start!!
Continue working in a spiral and work an increase into each single crochet from round 1 for a total of 10 single crochets in round 2.
Fasten off and leave a 6 inch tail to sew onto the body.
Ears (make 2)
Still using your worsted weight yarn, you will start again with a magic ring and chain 1, then single crochet 6.
Continue working in a spiral and work an increase into each single crochet from round 1 for a total of 12 single crochets in round 2.
Fasten off, weave in beginning end as much as possible and leave a 6 inch tail to sew onto head.
Tail
Still using your worsted weight yarn, you will start again with a magic ring and chain 1, then single crochet 6.
Continue working in a spiral as follows, being sure to mark your first stitch of each new round with your stitch marker:
Rd 2: inc 3, sc 2 (8)
Rd 3: inc 5, sc 3 (13)
Rd 4: inc 6, sc 1, dec 3 (16)
Rds 5-7: sc 16 (16)
Rd 8: inc 3, sc 2, dec 3, sc 2, inc 3 (19)
Rd 9: sc, inc 4, dec 2, sc, dec 2, inc 4, sc (23)
Rds 10-12: sc 23 (23)
Rd 13: dec 2, sc 3, dec, sc 7, dec, sc3, dec (18)
Rd 14: sc 18
Rd 15: [sc, dec], rep [] five more times (12)
Rd 16: sc 12 (12)
At this point, you should stuff the tail with fiber fill, being sure to stuff firmly but not over fill (the stitches should not be pulled apart).
Rd 17: dec 6 (6)
Rd 18: sc 2 (2) NOT A FULL ROUND These stitches are to give a bit more stability to the tail when you sew it on.
Fasten off and leave a 6-8 inch tail for sewing onto the body and weaving in the end. Weave in your starting end.
White Stripe
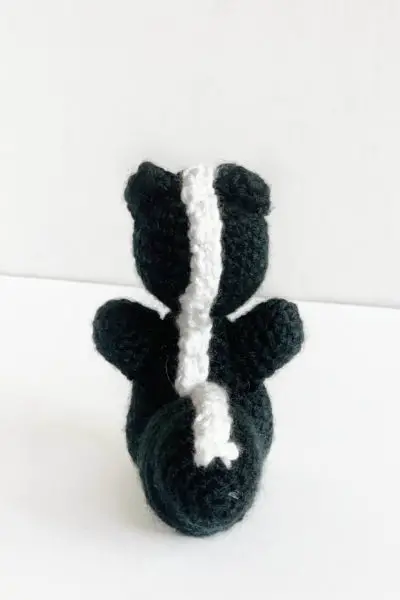
This piece is worked in rows, not rounds.
Using your white worsted weight yarn this time, chain 38.
Beginning in the second chain from the hook, single crochet down the chain (37).
Fasten off and leave a 18-20 inch tail to sew onto the body. Weave in the beginning end.
Belly Patch
This piece is worked in the round again.
Still using your white worsted weight yarn, create a magic ring, chain 1 and single crochet 5 into the magic ring. Continue in the spiral round, marking the first stitch in each round, as follows:
Rd 2: sc 3, (sc 3), sc 2, (sc 2) (10)
Rd 3: sc 4, (sc 3), sc 4, (sc 3) (14)
Rd 4: sc 5, (sc 3, sc 5 (13) NOT A FULL ROUND
Fasten off and leave an 8-10 inch tail to sew onto the body. Weave in the beginning end.
Nose
Using a pink embroidery thread, you will now make the nose to go onto the muzzle.
Start with a magic ring, and chain 3, then double crochet 3.
Fasten off and pull the magic ring as tight as possible, putting a knot in the thread to keep it tight. Leave a 6 inch tail to sew onto the muzzle.
Eyes
If you are using safety eyes, be sure you insert them where noted in the Legs/Body/Head section above. If you want to use the crochet eyes I used, you can find detailed photo instructions in my Crochet Eyes for Amigurumi post!
Using the black embroidery thread and a 2.0 mm crochet hook, create a magic ring, chain 1, and single crochet 6 into the magic ring.
Insert the hook into the top of the first single crochet as if to slip stitch, but yarn over with the white embroidery thread. Complete the slip stitch.
Chain 1 and increase in the first three black stitches. This is not a full round and ends here.
Fasten off and leave a 6 inch tail for both the black and white sections, as you will need to sew each portion with the appropriate tail. Weave in the beginning ends.
For additional tips, including sewing tips, see the Crochet Eyes for Amigurumi post linked above!
Assembly
Sew the arms onto the body from row 11 to row 14, straight on the side of the body.
Press the ears flat and sew them onto the head. I start in the second row from the end and work my way down the head, keeping the ears running to the sides.
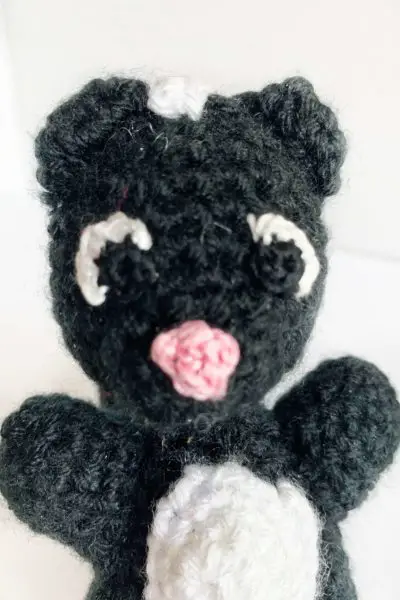
Stuff the muzzle with a small amount of fiber fill and sew onto the head, in the middle of the face from row 18 to row 22 (if you used safety eyes, center the muzzle between them, then sew from rows indicated).
If applicable, sew eyes onto the head, from row 22 to row 24, centered around the muzzle with two stitches between the eyes when eyes are sewn on.
Sew the nose onto the muzzle with the bottom tip of the nose in the center of the magic ring of the muzzle.
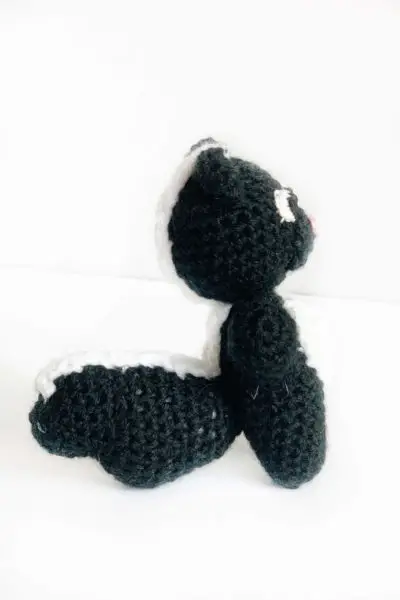
Sew the tail onto the body, centered on the back from row 8 to row 11.
Now Ted is ready to go get into something- but at least it’s not your garbage!
Pin it for later: