Contents
Happy Friday! Tomorrow is the 50th anniversary of the Apollo 11 moon landing and I wanted to make something to commemorate it, but also something that my youngest would really appreciate.
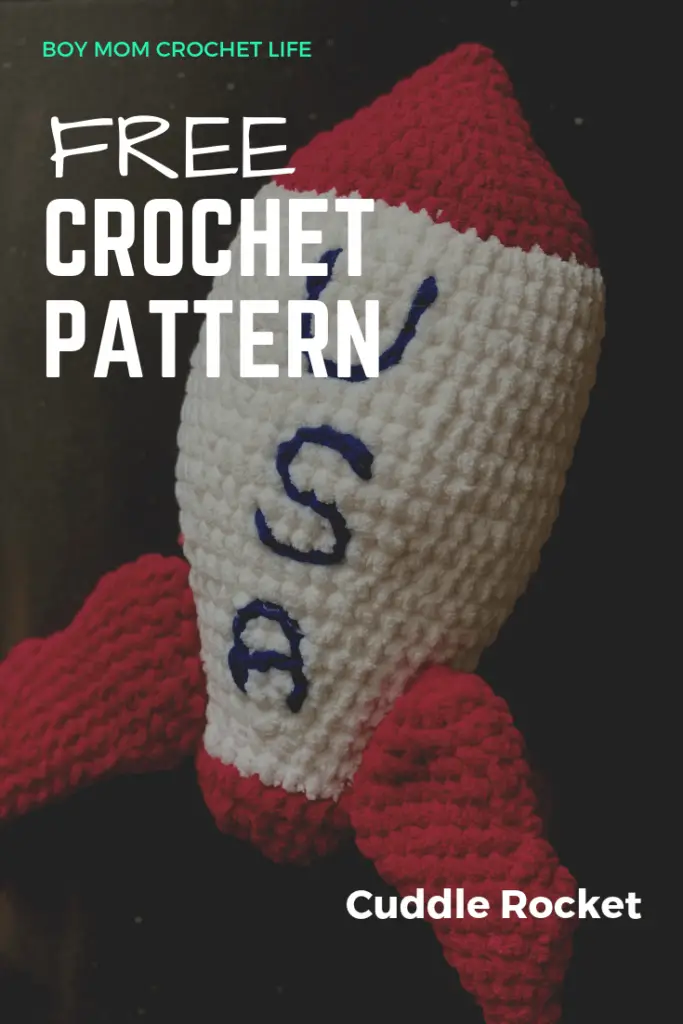
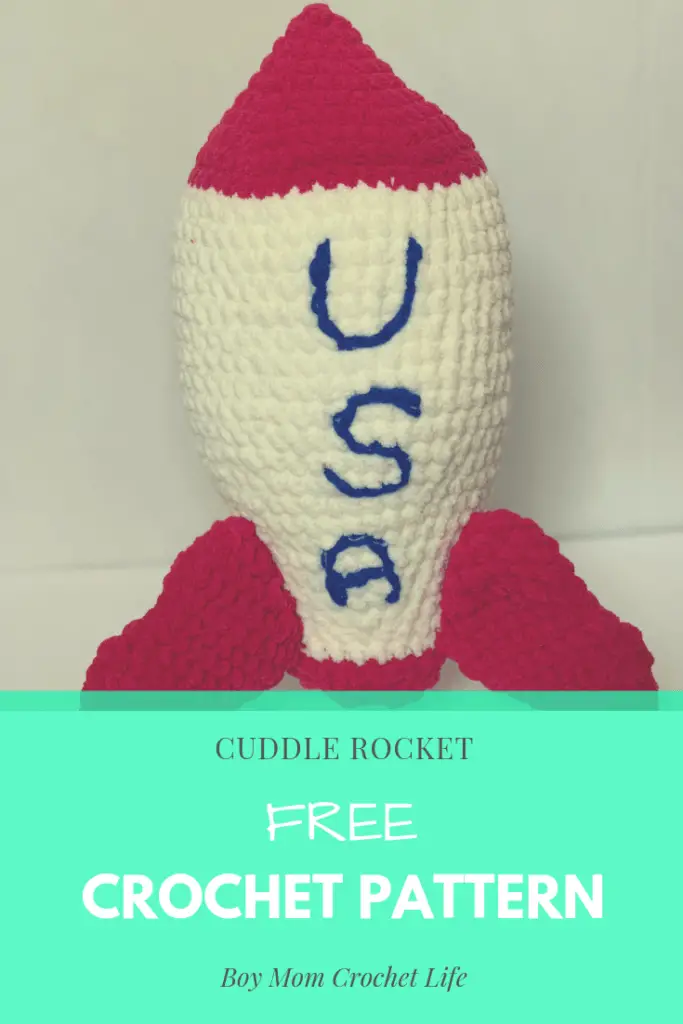
Enter the Cuddle Rocket crochet pattern! It’s big and cuddly, but can still be played with, no problem. The boys love running around with it and making the wooshing sound effects, but B also loves cuddling with it in his bed.
It works up quickly, too, thanks to the super bulky Bernat yarns. You could add the USA detail like I did, personalize it, add a window, or leave it plain, whatever you (or the little one you’re making it for) want! I hope you enjoy it as much as we do!

Some of the links in this article are “affiliate links”, a link with a special tracking code. This means if you click on an affiliate link and purchase the item, I will receive an affiliate commission- as an Amazon Associate, I earn from qualifying purchases. The price of the item is the same whether it is an affiliate link or not. Regardless, I only recommend products or services I believe will add value to you. I hope these links are as helpful as possible for you!
Cuddle Rocket Crochet Pattern

Skill Level
Intermediate due to the half color change technique detailed in the pattern
Yarn and Hook Size
69 yards Main Color (MC) Bernat Blanket in Vintage White– 220 yd. / 201 m (10.5 oz. / 300 g) per skein; 100% polyester, super bulky (#6) yarn
83 yards Accent Color (AC) Bernat Brights small ball in Race Car Red– 108 yd. / 98 m (5.3 oz. / 150 g) per skein; 100% polyester, super bulky (#6) yarn
3.5 yards Letter Color (LC) Loops and Threads Impeccable Royal– 285 y/260 m (4.5 oz/127.5 g) per skein; 100% acrylic, worsted weight (#4) yarn
Notions
Measurements and Gauge
Finished measurements are 15.5 inches tall by 6.5 inches wide with a 19.5 inch circumference. Gauge is 4 rows by 5.5 stitches is 2 inches.
Abbreviations
| ch chain | sc single crochet |
| dec decrease | sc3tog single crochet 3 together |
| inc increase | sl st slip stitch |
| inv dec invisible decrease | st stitch |
| MR magic ring | yo yarn over |
[] denote a group of stitches that repeats as many times as directed
Instructions:
Body
This portion is worked in the round. Be sure to mark the first stitch of each round with stitch marker.
Rd 1: Using AC, make MR, sc 5 (5)
Rd 2: [sc inc] repeat four more times (10)
Rd 3: [sc, sc inc] repeat four more times (15)
Rd 4: [sc 2, sc inc] repeat four more times (20)
Rd 5: [sc 3, sc inc] repeat four more times (25)
Rd 6: [sc 4, sc inc] repeat four more times (30)
Rd 7: [sc 5, sc inc] repeat four more times (35)
Rd 8: [sc 6, sc inc] repeat four more times (40)
Rd 9: [sc 7, sc inc] repeat four more times (45)

The next round will be a half color change round, where the bottom of the stitch will remain the AC, but the top of the stitch will change to the MC. If you would like to see a video tutorial of the technique, check out this video from Club Crochet.
Rd 10: Still using AC, sl st into first st of Rd 9, use MC
to ch 1, sc 45 using AC for the first yo and MC for the second yo to complete
the sc. On last st, using MC, sl st to first st of round, ch 1 (45)


From here to Rd 30 will be worked in MC only
Rd 11: Beginning in same st as join, [sc 8, sc inc] repeat four more times (50)
Rds 12-20: sc 50 (50)
Weave in your beginning ends.
Rd 21: [sc 8, dec] repeat four more times (45)
Rd 22: sc 45 (45)
Rd 23: [sc 7, dec] repeat four more times (40)
Rd 24: sc 40 (40)
Rd 25: [sc 6, dec] repeat four more times (35)
Rd 26: sc 35
Rd 27: [sc 5, dec] repeat four more times (30)
Rd 28: sc 30 (30)
Rd 29: [sc 4, dec] repeat four more times (25)
Rd 30: sc 25 (25)
At this point, you can add the optional sl st lettering described in a new section below.
Rd 31: Still using MC sl st into first st of Rd 30, using AC ch 1, sc 25 using MC for the first yo and AC for the second yo to complete the sc. On last st, using AC, sl st to first st of round, ch 1 (25)
Weave in your MC end. The remaining portion of the rocket body is worked in the AC.
Rd 32: Beginning in same st as join, [sc 4, sc inc] repeat four more times (30)
Rd 33: [sc 4, dec] repeat four more times (25)
Rd 34: [sc 3, dec] repeat four more times (20)
Weave in your beginning AC end.
Rd 35: [sc 2, dec] repeat four more times (15)
Leaving an 8-10” tail, fasten off
Using tapestry needle, thread the tail through the front loop of each st around from the outside to the inside. Pull tight. Weave in end.
Fins
Make 3
This portion is worked in the round
Rd 1: Using AC, make MR, sc 6 (6)
Rd 2: sc 6 (6)
Rd 3: [sc 1, inc] repeat two more times (9)
Rd 4: [sc 2, inc] repeat two more times (12)
Rd 5: sc 12 (12)
Rd 6: [sc 3, inc] repeat two more times (15)
Rd 7: [sc 4, inc] repeat two more times (18)
Rd 8: sc 18 (18)
Rds 9 and 10: sc3tog, sc 6, inc, sc, inc, sc 6 (18)
Rd 11: sc 18

Rd 12: [sc 5, inc] repeat two more times (21)
Rd 13: sc 9, inv dec 3, sc 6 (18)

Rd 14: sc 6, inv dec 4, sc 4 (14)

Rd 15: sc 4, inv dec 4, sc 2 (10)
Rd 16: sc 2, inv dec 4 (6)

Leaving at least an 8” tail, fasten off
Sew through the front loop of the remaining 6 stitches and pull tight.

Use the remaining tail to sew fins to the body. If you want your rocket to stand on the tail fins, be sure to sew a few extra stitches in the last join (where the bottom sewn part of the fin meets the bottom-most part of the rocket you have sewn it to).
Optional Lettering
Using the 5.0 mm hook and LC
U- Count down two rows of the white part of the body and insert your hook from top to bottom.

Pull up a loop

and sl st 3 down, 1 down and to the right, 1 across, 1 up and to the right, 3 up (see picture below). Be sure to keep your stitches loose so they don’t pull on the fabric too much

Fasten off
S- Count down two rows from the bottom of the U and insert your hook from bottom to top. Pull up a loop and sl st 1 up and to the left, 2 across, 1 down and to the left, 1 down and to the right, 1 across, 1 down and to the right, I down, 2 across, 1 up and to the left. Fasten off
A- Count down six rows from the bottom of the S and insert your hook from bottom to the top. Pull up a loop and sl st 3 up, 1 up and to the right, 1 across, 1 down and to the right, 3 down. Fasten off and pull up another loop 2 sts up from the bottom and sl st 2 across. Fasten off and weave in ends


