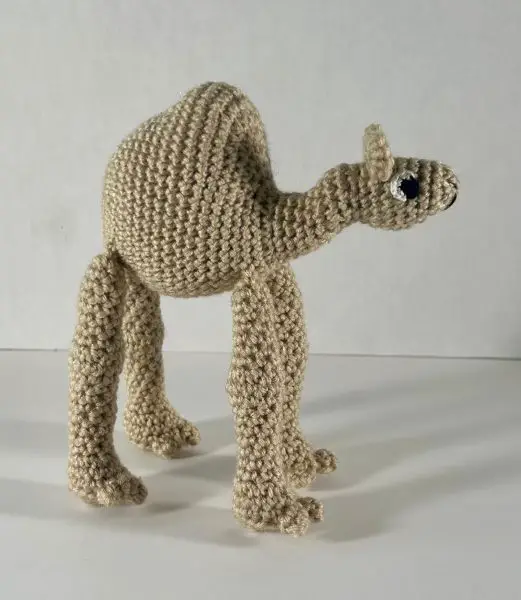
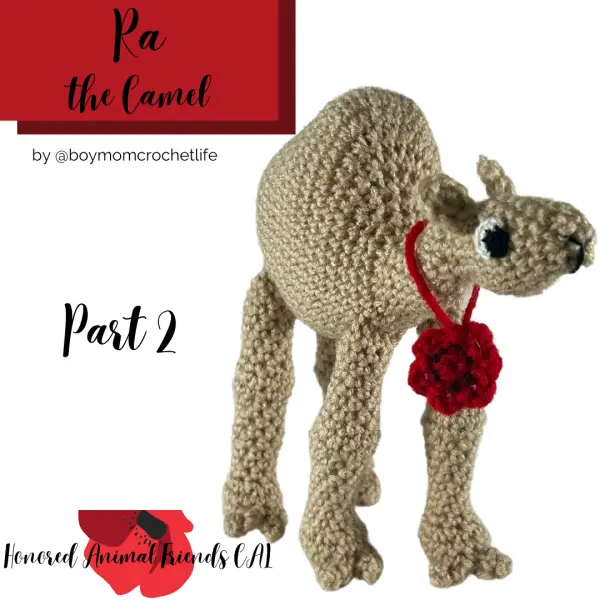
Hi everyone! Welcome to the second part of Ra the Camel!
Today, we will be working on his body and head. We will attach the legs to the body by crocheting them in, just like we did with the toes onto the feet, so no sewing to be had here!
I did not use safety eyes on Ra, so I’m sorry to say that I do not know the best point to add them. But I really love the look of his eyes, so if you happen to have some very thin crochet thread or embroidery thread available to you, I really encourage you to try out those eyes (which will be made in Part 3!)
So let’s get on with Part 2!
Would you prefer a full, ad-free PDF version of this pattern, with additional pictures to help with the construction? You can purchase one on Ravelry.
Supplies for Ra the Camel
25-30 yards Red Heart Super Saver in Buff 100% acrylic, 364 yds/333 m, 7 oz/198 g, weight 4
4.5 mm crochet hook
Fiber fill or other stuffing medium
Tapestry needle
Scissors
For the eyes:
Black and white embroidery thread (less than 1 yard each)
2.0 mm crochet hook
Abbreviations/Pattern Notes
sc- single crochet
ch(s)- chain(s)
st(s)- stitch(es)
inc- increase
dec- decrease
scblo- single crochet in back loop only
The body and head are worked in the spiral round as one piece, so you may wish to use the stitch marker from the supplies list to mark the first stitch of each round.
A double magic ring is not necessary, but does make the piece a little more secure than a regular magic ring. If you’re not sure how to work one, check out my double magic ring tutorial.
Body and Head
Create a double magic ring, ch 1 and sc 8 into the ring.
Round 2: inc in each st (16)
Round 3: sc in first st, inc in next, [sc in next st, inc in next], repeat [ ] 6 more times (24)
Round 4: sc in first 2 sts, inc in next, [sc in next 2 sts, inc in next], repeat [ ] 6 more times (32)
Round 5: sc in first 3 sts, inc in next, [sc in next 3 sts, inc in next], repeat [ ] 6 more times (40)
Round 6: sc in first 10 sts, attach leg over next 4 sts, sc in next 2 sts, attach leg over next 4 sts, sc in last 20 sts (40)
Rounds 7-9: sc in each st (40)
Round 10: sc in first 32 sts, inc in next 8 sts (48)
Weave in starting end and any ends remaining from legs.

Round 11: sc in first 36 sts, [inc in next st, sc in next], repeat [ ] 3 more times, sc in last 4 sts (52)
Rounds 12-14: sc in each st (52)
Round 15: sc in first 36 sts, [dec, sc in next], repeat [ ] 3 more times, sc in last 4 sts (48)
Round 16: sc in first 32 sts, dec 8 (40)
Round 17: sc in first 32 sts, dec 4 (36)
Round 18: dec 2, sc in next 10 sts, dec 2, sc in next 10 sts, dec 4 (28)
Round 19: dec 2, sc in next 4 sts, attach leg over next 4 sts, sc in next 2 sts, attach leg over next 4 sts, sc in next 4 sts, dec 2, sc in last 2 sts (24)
Round 20: sc in each st (24)
Weave in any ends remaining from legs.
Round 21: dec evenly around (12)
Round 22: sc in each st (12)
Stuff the body with fiber fill.
Rounds 23-25: sc in each st (12)
Round 26: inc in first 3 sts, sc in next, dec 3, inc in last 2 sts (14)
Round 27: sc in first st, inc in next 2 sts, sc in next 2 sts, dec 4, sc in last st (12)
Round 28: sc in first 2 sts, inc in next 3 sts, sc in next st, dec 3 (12)
Round 29: sc in each st (12)
Round 30: sc in first 2 sts, dec 3, sc in next st, inc in last 3 sts (12)
Round 31: sc in first 2 sts, inc in next, [sc in next 2 sts, inc in next], repeat [ ] 2 more times (16)
Round 32: sc in first 2 sts, attach ear in next st, sc in next 2 sts, attach ear in next st, sc in last 10 sts (16)
Round 33: sc in each st (16) If you are using safety eyes, I would attach them in this row or the next, but check to be sure you like how they look before securing them in completely.
Round 34: dec, sc in next 6 sts, dec, sc in last 6 sts (14)
Round 35: sc in first 9 sts, dec 2, sc in last st (12)
Round 36: sc in first 8 sts, dec 2 (10)
Round 37: sc in each st (10)
Round 38: dec evenly around (5)
Fasten off and thread yarn through a tapestry needle. Weave through the front loop of each stitch, pull tight and weave in end.

